
There’s that saying, “American as apple pie”.
Does that mean I’m breaking some sort of international rule if I make apple pie for Canadian Thanksgiving?
I sure hope not because I made apple pie for Canadian Thanksgiving…
It’s probably cool.
In my defense, apple pies actually originated from Europe, and people have jokingly told me that Canada is basically the European United States… So perhaps with that logic it’s even more Canadian than it is American?
Maybe?
It’s weak logic, I know. Really, I just wanted pie after a nice, comforting meal (who doesn’t have pie after Thanksgiving?) and my Father-in-law’s favourite pie is apple.
And who doesn’t want happy in-laws?

Jokes aside though, my apple pie has a soft spot in my heart as well. As far as I’m concerned, there are only 3 pies worth having a presence at the Thanksgiving dessert table.
Apple, pecan, and of course, pumpkin.
I mean, if you put a cherry pie on my thanksgiving table, I will still totally eat it.
But c’mon, let’s respect the fall flavours!
They’re so very delicious afterall.

Really, whether you’re baking for Canadian Thanksgiving, American Thanksgiving, Bartolomé Day or just a chill autumn Sunday, apple pie is appropriate for all of these occasions.
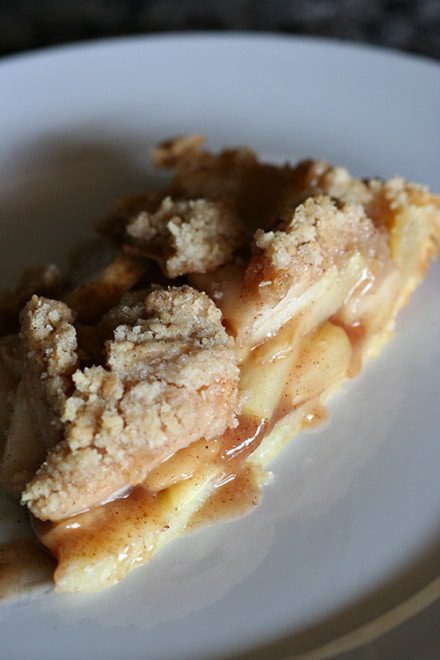
Especially when decadently topped with a buttery crumble in place of its top crust.
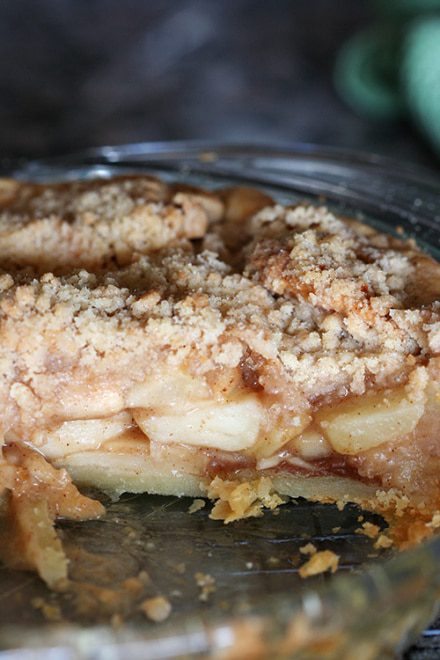
I love pie crust as much as the next person, but tart, juicy baked apples under a crown of sugary crumble? I’m sorry crust. You’re amazing, but you’re already on the bottom and crumble is just so adorably lovable.
“Canadian as apple pie”?
Nah. Apple pie is apple pie and deliciously appropriate for anyone.
“Delicious as apple pie”?
Much better!
Apple Crumble Top Pie
Crust recipe from Rose Levy Beranbaum’s The Pie and Pastry Bible
Crust
- 8 tablespoons unsalted butter, cold
- 1 1/3 cups + 4 teaspoons pastry flour or 1 1/3 cups (dip and sweep method) bleached all-purpose flour
- 1/8 teaspoon salt (for savory recipes, use 1 1/2 times the salt)
- 1/8 teaspoon baking powder
- 1 3-ounce package cream cheese, cold
- 1 1/2 tablespoons ice water
- 1 1/2 teaspoons cider vinegar
Apple Pie Filling
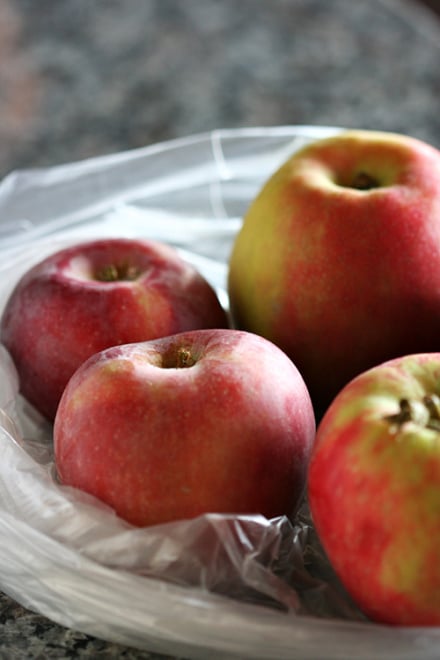
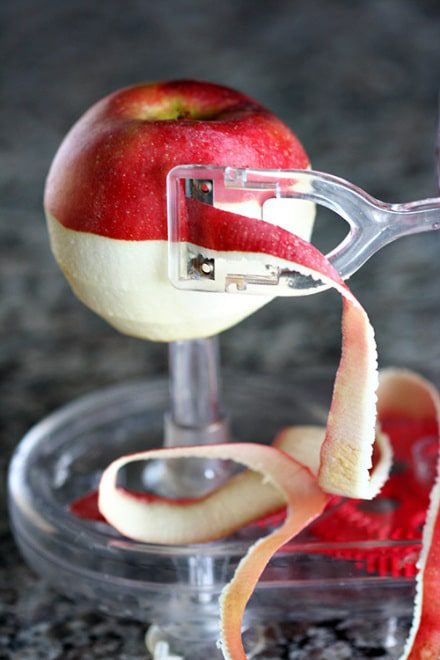
- 5 cups apples – peeled, cored and thinly sliced (I like a mix of really tart apples, like a granny smith, with a couple honeycrisp apples thrown in)
- 1/4 cup granulated sugar
- 1/4 cup light brown sugar
- 3-4 tablespoons all purpose flour (Use your judgement based on how wet and juicy your apples are. I tend closer to the 4 tablespoon (1/4 c) mark)
- 3/4 teaspoon ground cinnamon
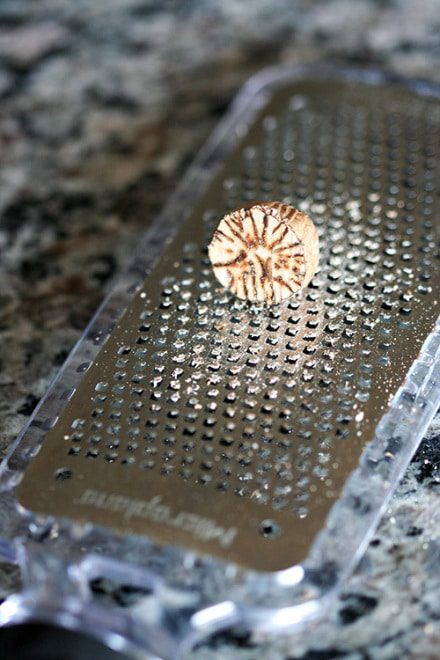
- 1 teaspoon ground nutmeg
- 1 teaspoon vanilla extract
Crumble Topping
- 1/3 cup granulated sugar
- 3/4 all purpose flour
- 1 teaspoon ground cinnamon
- 1/2 cup (1 stick) unsalted butter, cold, cut into pieces
Directions
- Crust: Cut the butter into small (about 3/4-inch) cubes. Wrap it in plastic wrap and freeze it until frozen solid, at least 30 minutes. Place the flour, salt, and baking powder in a resealable gallon-size freezer bag and freeze for at least 30 minutes.
- Place the flour mixture in a food processor with the metal blade and process for a few seconds to combine. Set the bag aside.
- Cut the cream cheese into 3 or 4 pieces and add it to the flour. Process for about 20 seconds or until the mixture resembles coarse meal. Add the frozen butter cubes and pulse until none of the butter is larger than the size of a pea. (Toss with a fork to see it better.) Remove the cover and add the water and vinegar. Pulse until most of the butter is reduced to the size of small peas. The mixture will be in particles and will not hold together. Spoon it into the plastic bag.
- Holding both ends of the bag opening with your fingers, knead the mixture by alternately pressing it, from the outside of the bag with the knuckles and heels of your hands until the mixture holds together in one piece and feels slightly stretchy when pulled.
- Wrap the dough with the plastic wrap, flatten it into a disc and refrigerate for at least 45 minutes, preferably overnight.
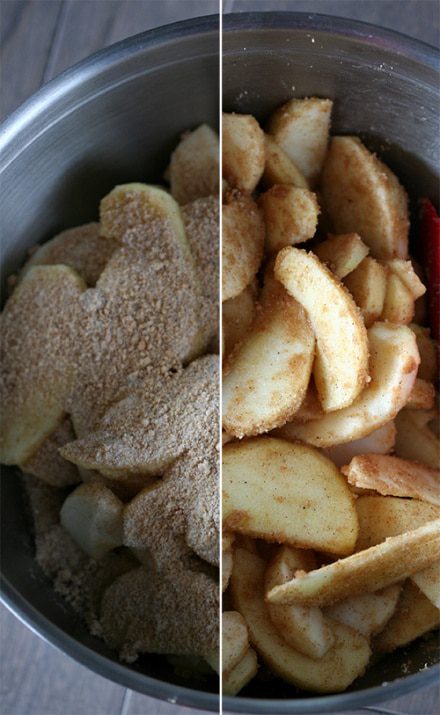
- Filling: Preheat oven to 325 degrees F. Place prepared apples into a large mixing bowl.
- In a separate, smaller bowl, whisk together flour and spices. Add in sugars and mix until evenly incorporated. Add vanilla and mix in as best you can. The vanilla will probably clump with the flour. This is normal and is fine.
- Add the flour mixture to apples and toss to coat apples evenly. Put aside while you prepare your pie crust into your pie pan and make the crumble. (This allows time for some of the liquid to leech out of the apples. We want all of this wonderful liquid, but it will be much easier to fit all the apples into the pie when they’re already a little smaller before baking!)
- Crumble: Mix all ingredients together except the butter in a small bowl. Add pieces of butter to mixture and using your fingers, two knives or a pastry cutter, work the butter into the flour/sugar mixture until no butter pieces are larger than a pea, and the whole mixture looks crumbly. Put in refrigerator while forming dough.
- Assembly: Let cold pie dough come a bit to room temperature on the counter for about 10 minutes. Roll out dough on a floured surface until large enough to fill a 9-inch deep dish pie pan. Carefully line pan with dough, making sure not to stretch dough. Roll excess dough under edges and crimp as desired, with fingers or a fork.
- Fill crust evenly with prepared apples, arranging the apple slices flat to fit them all. Evenly spread crumble mixture over top of apples
- Bake in preheated oven for 1hr 15 minutes to 1hr 30 minutes, depending on your desired doneness. Test pie by stabbing into the center with a sharp knife. If you like a pie where the apples have a little resistance, test accordingly with the knife. If you like notably soft apples in your pie, don’t take the pie out until the knife meets little to no resistance. (Remember, pie filling always cooks a little while longer after coming out of the oven, and we’re not trying to make a shell filled with apple sauce!)
- Cool in pan on a wire rack for at least a half hour to not burn mouths, then serve as desired!
Keep cooled pie covered with plastic wrap in the refrigerator, if you’re not busy eating it all.