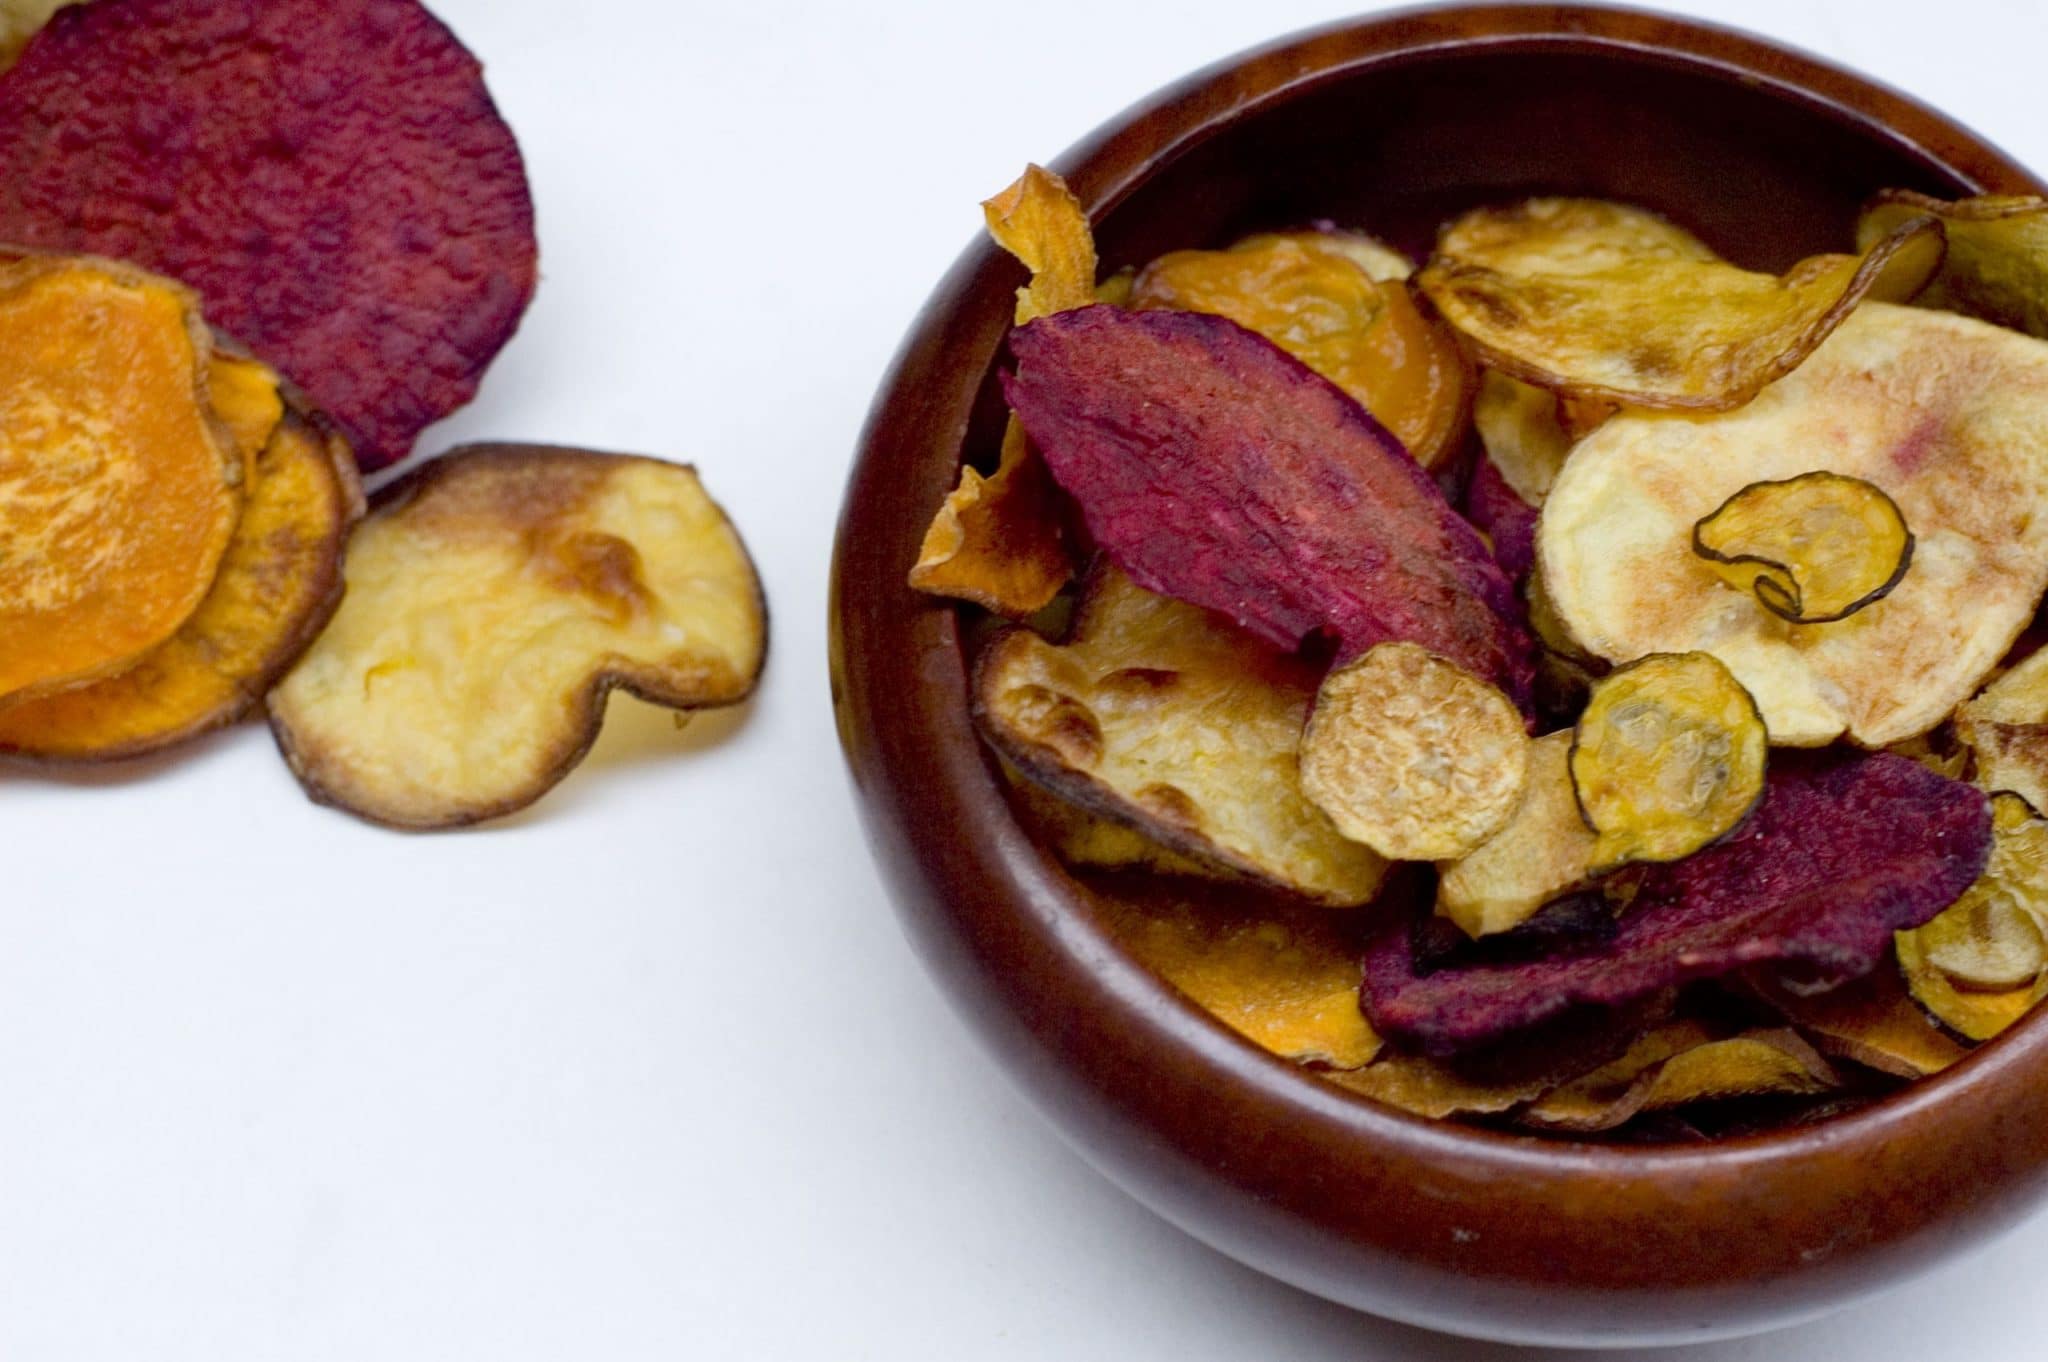

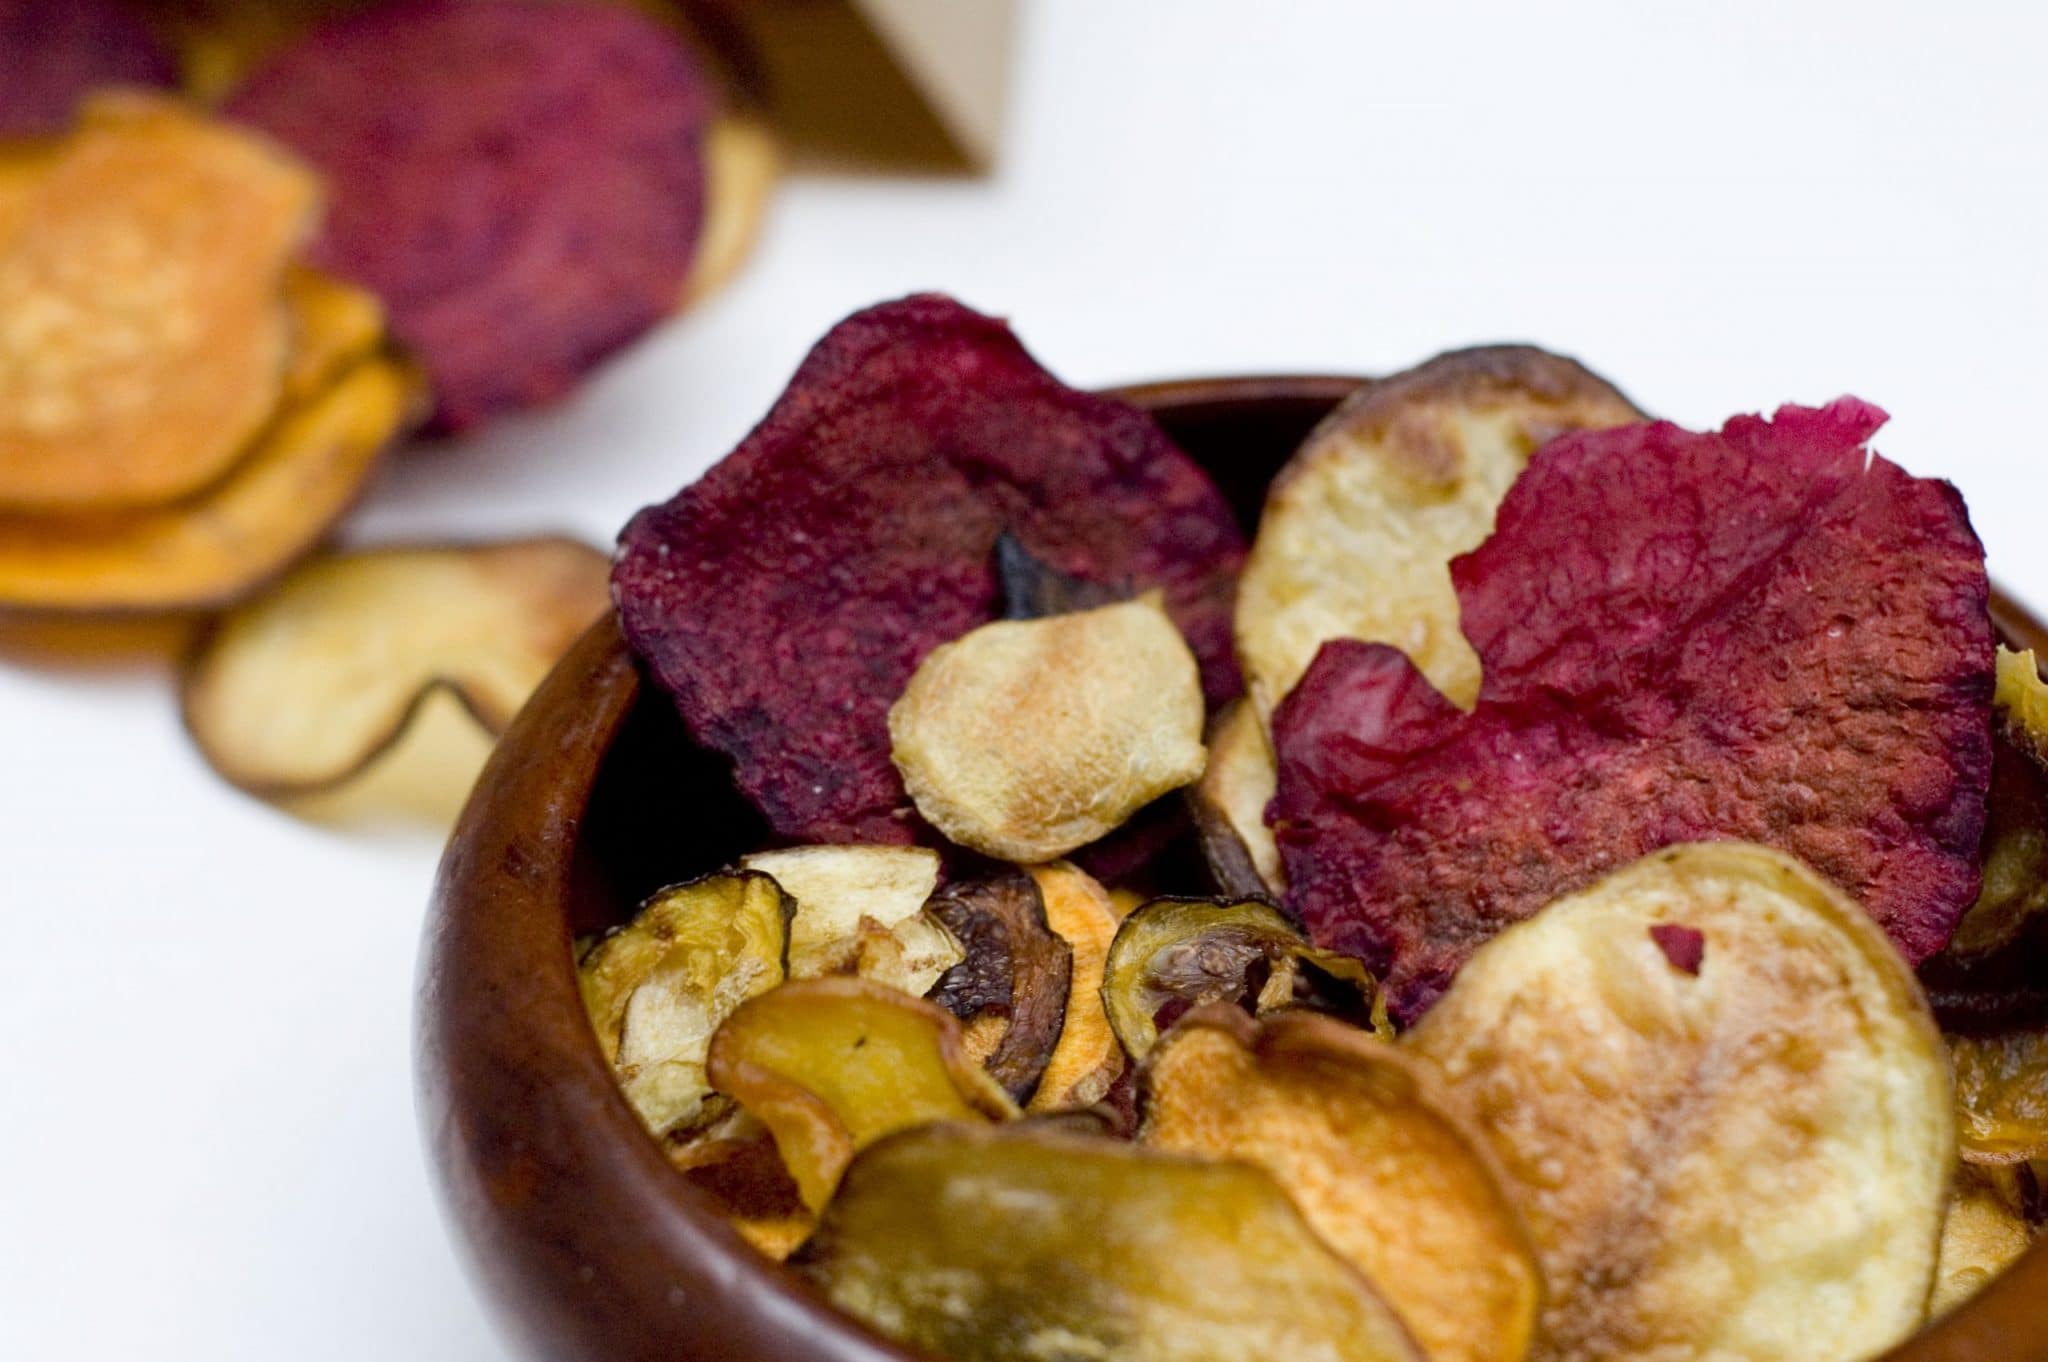
I have a weakness for potato chips. I try really hard not to buy them, and I generally only succumb to my addiction a couple of times a year, but unfortunately I’ve now found a loop hole. A very dangerous loop hole. On the bright side, these chips really aren’t that bad for you and are just as delicious as their evil, extra fattening twin! The other day I visited a fresh market, and I was elated to find yellow beets, instantly knowing I was destined to make colorful vegetable chips. I gathered my vegetables; yellow and red beets, sweet potatoes, zucchinis, yellow potatoes and most importantly my boyfriends mandolin (Shh, don’t tell!) My favorite chip is of the “salt and vinegar” variety. I’m not picky- regular or fancy balsamic vinegars will do for me. I’ve noticed people either LOVE or HATE S&V chips. You’re either passionate or loathsome towards these extra tasty chips. I’d say my opinion is quite obvious. I decided to go with original white vinegar for my chips, purely out of cost efficiency and simplicity, but I’m sure it would be fun to play around with other tastes.
Ingredients:
Whichever root vegetable you desire, I used sweet potato, yellow potato, red beets, yellow beets and zucchini.
Distilled White Vinegar
Cooking Oil Spray
Kosher Salt for sprinkling
Slice vegetables as thin as possible, to ensure even baking. In order to get the desired vinegary taste, you have to boil your sliced veggies in vinegar. Toss all veggies into a pot and add enough vinegar so that all veggies are submerged. Bring to boil for 5 minutes. Remove from heat and let soak for 20 minutes. Lay out flat to dry on paper towel for another 20 minutes. Preheat oven to 400F. In order to prevent burning, I suggest baking all same vegetable at once. Cover a baking sheet with parchment paper, and lay out one type of vegetable flat, spray with oil and sprinkle with salt. Bake for 10-14 minutes, checking and turning periodically. Bake until they are brown around the edges and crispy, lay out on paper towel to dry. Enjoy hot or once cool.
DISCLAIMER: While delicious, these chips are a bit of a time commitment, 1-3 servings can be made in an hour, but more will take a few hours. There’s only so many chips that can fit into the oven at once!