
A to Z Challenge (Letter V): Vegan

While most Vegan Americana is not closely paired with economic collapse, this one is. The other name for this cake is “Depression Cake” …as in The Great Depression, when the inability to afford/find egg and dairy overlapped with a special occasion. While this contrasts dramatically with the modern edible ideology, I think it’s still a great recipe! What’s your favorite animal-product-free dessert?
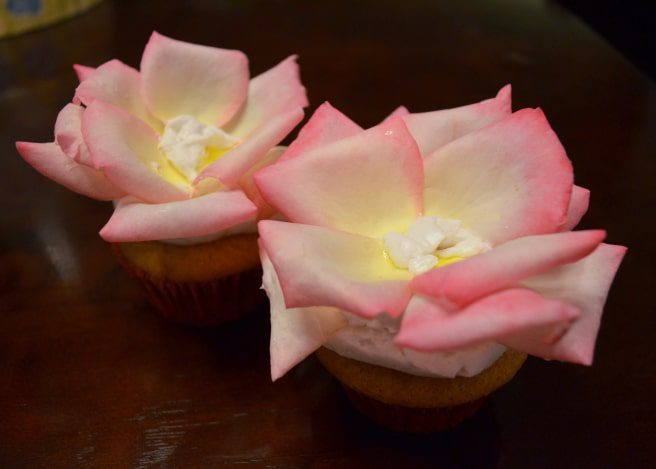
Depression cake is a pretty standard recipe. I up-cycled it a bit with a different flavor profile to create this vintage vegan cupcake. Click here for the dairy-free coconut whipped frosting recipe.
Vintage Vegan Cupcakes
Modified from Sweet Little Blue Bird
Special Ingredients: (refrigerated) coconut milk
Special Tools: hand blender, cupcake tray, cupcake liners
Note: You’ll need to start this the day before by placing your coconut milk in the refrigerator.
Preheat oven to 350 F
Separate your can of coconut milk with the coconut water in a bowl (about 1/2 cup) and the solid coconut milk in another.
Return the coconut milk to the fridge (use in other recipes or in the dairy-free frosting).
In a bowl mix:
- 1.5 cups all-purpose flour (self-raising would make it even fluffier)
- 1 cup sugar
- 1.5 tsp baking soda
- 1/2 tsp salt
Add:
- 1/3 cup coconut oil (or olive oil)
- 1 tsp white vinegar
- 1 tsp pure extract of your choice
(I used lemon, but consider almond, vanilla, maple, cardamom, etc.)
Then add:
- 1 cup coconut water
(or as much coconut water as you have + water until it reaches 1 cup)Side note: if you didn’t chill your coconut milk, and decided “well poop, going to make this anyways” and had to use coconut milk instead of coconut water, let me know how it turned out, I’m curious!
Mix until smooth
Guess what?! It’s vegan which means you can lick the spoon without worrying about salmonella poisoning.
Put into cupcake liners. I don’t fill an entire 12 cupcake tray, I fill 10, this ensures they are nice and tall.
Bake for 25-30 minutes.
Eat!


