
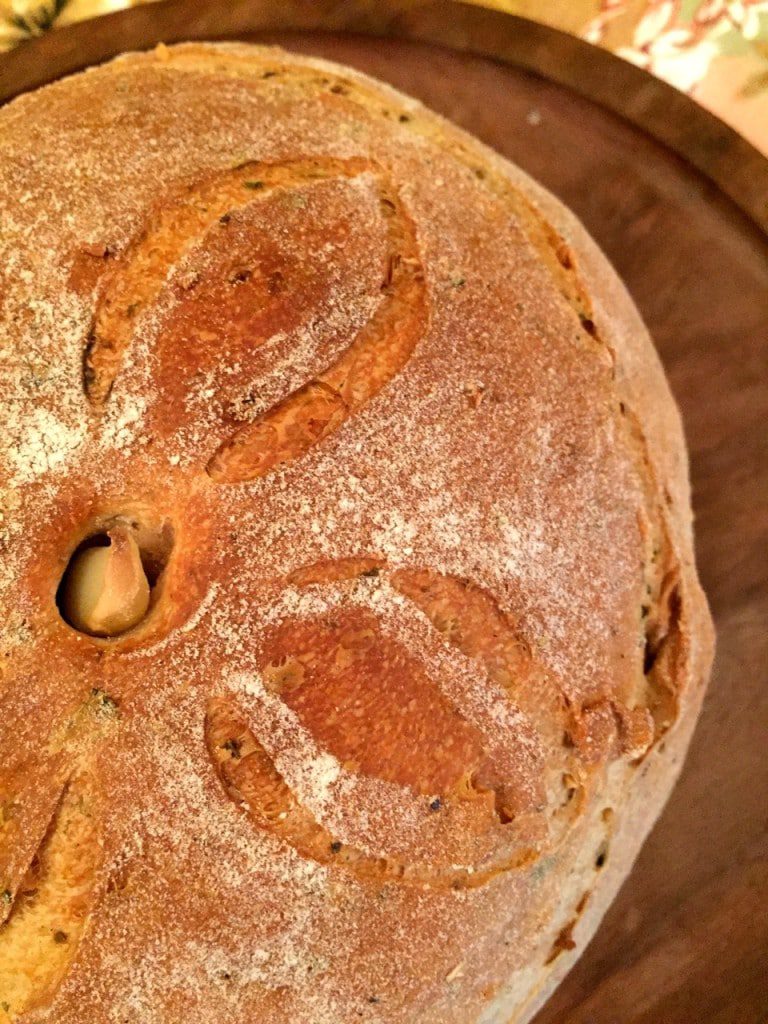
It’s been a while since I’ve been obsessed with bread leavened with wild yeast. The more I read about the benefits of ‘natural’ or ‘sourdough’ bread – the more difficult it gets for me to play with commercial yeast. But, once in a while, I succumb to the convenience of a quick bake (under 4 hours) compared to a minimum of 9 – 10 hours required for the gentler sourdough bread. Having eaten a lot of the naturally leavened bread, I find the bread made with commercial yeast tasting flat – almost tasteless. And that seemed like a perfect opportunity to make some flavoured bread. So, here’s an experiment in aromatics and texture. Garlic, oregano, basil, milk and coconut oil combined to create an aroma that was sweet! And the chunks of walnut buried in the crumb added a nice crunch to the otherwise pillowy soft texture contributed by the milk in the dough. Here goes:
Ingredients
150 ml milk
60 ml water
30 ml / 2 Tbsp Coconut oil
325 gms Organic flour – 65 gms Whole Wheat (Atta) and 260 gms APF (Maida)
40 gms crushed Walnuts
4 cloves of Garlic – minced
2 Tsp of dried Oregano
6 leaves of Fresh Basil – sliced thin
1 1/2 tsp Brown Sugar
1/2 tsp Instant Yeast
1 tsp Sea-Salt
Method
1) Mix all the ingredients well and knead till the dough is tacky and elastic. Here’s a video that can help.
2) Lightly oil the dough and transfer to a vessel that can roughly accommodate twice the volume of the dough. Cover and set aside for about an hour till the dough has doubled in volume.
3) Lightly flour a clean work surface and transfer the dough from the vessel to the surface. Gently de-gas the dough and shape into a boule. Here’s a video to help you with the shaping.
4) Pre-heat the oven to 250°C with a baking tray in the lowest rack. Takes me about 45 minutes.
5) Flour a kitchen towel with rice flour and line it in a colander or any small round open vessel. Transfer the shaped boule onto the floured napkin and cover. Leave for approximately 45 minutes or till the dough has risen vertically and passes the finger dent test. Here’s a video on the finger dent test.
6) Line a baking sheet with parchment paper and transfer the proofed dough onto the baking sheet. Score the dough – use your imagination. Here’s a video to help you.Transfer the baking sheet with the dough into the oven.
7) Pour hot water into the pre-heated baking tray and shut the oven. This will create steam inside the oven chamber and keep the surface of the dough moist, helping it to delay the crusting process – yielding a better rise and a thin crisp crust.
8) Drop the oven temperature to 200°C.
9) After 15 minutes, pull out the baking tray with the left over water (if any) and bake the bread for 20 minutes. Now turn the loaf 180° (to ensure even browning) and bake for another 20 minutes (or so) till the bread is well browned and sounds hollow when tapped at the bottom.
10) Cool, for at least an hour before you slice the bread.
This is what the bread looked like when I cut into it.
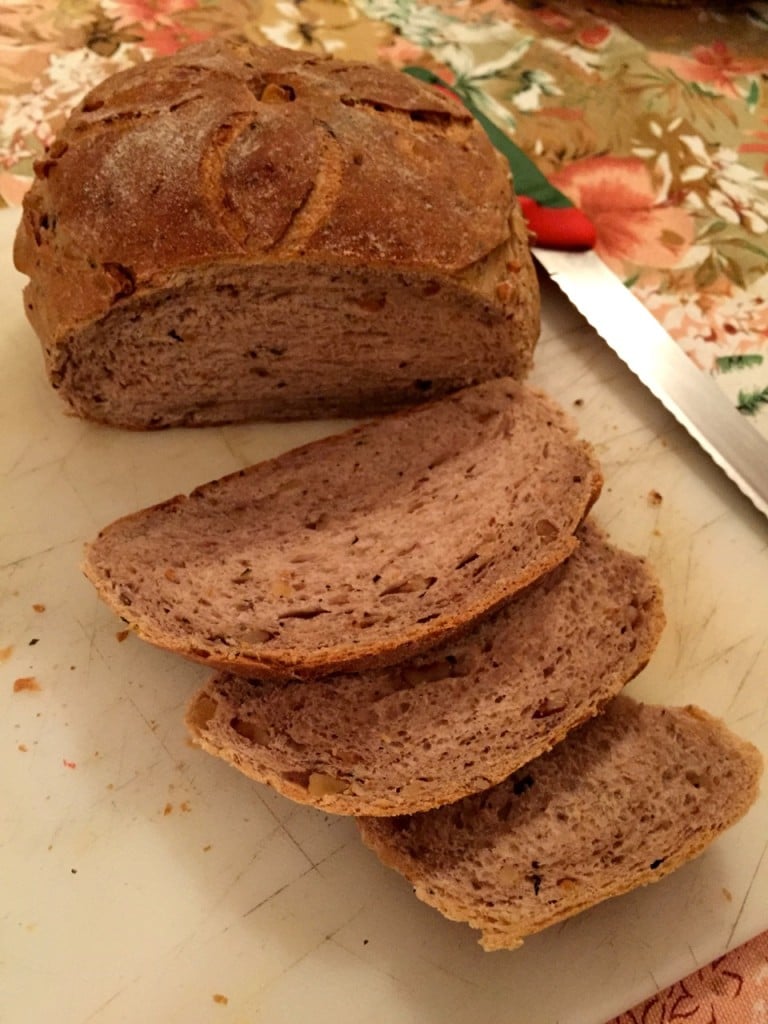
The crust was flaky and firm (thanks to the coconut oil) and the crumb was pillowy soft (thanks to the milk). The bonus was the aromatics from the garlic and the herbs and the texture from the walnuts intersperced all over the crumb. I think I experienced a little bit of heaven – during and after the bake.


